Showing posts with label in the round. Show all posts

11.14.2012

Werkin in the round #2

This technique is the one I learned most recently.  It makes perfect sense and may be the easiest one.


THERE ARE THREE WAYS TO START A "ROUND" PROJECT.     

2.  Work into Ch1


Pros: simple.
Cons: may be slightly less strong than the others, just a guess though.  Works best with double or treble.  Larger-ish center.

Any pattern will tell you how to being your project.  You can always adapt said pattern.  It's YOUR project after all.  It's ultimately up to you how you want to begin your round.  

If your pattern says;

Row 1 - Ch4, join with slip stitch
Row 2 - 12 dc in center

That is exactly what we did here. 

In this example it can be translated as;
Row 1 - chain 3.  Work 11 dc into first ch (or second ch from hook)


Note; The first ch acts as the center of the work, the second and third chain act as the first dc.


This is really the exact same thing.  

Yay!  Options.

So.  Here we go....
Chain 4


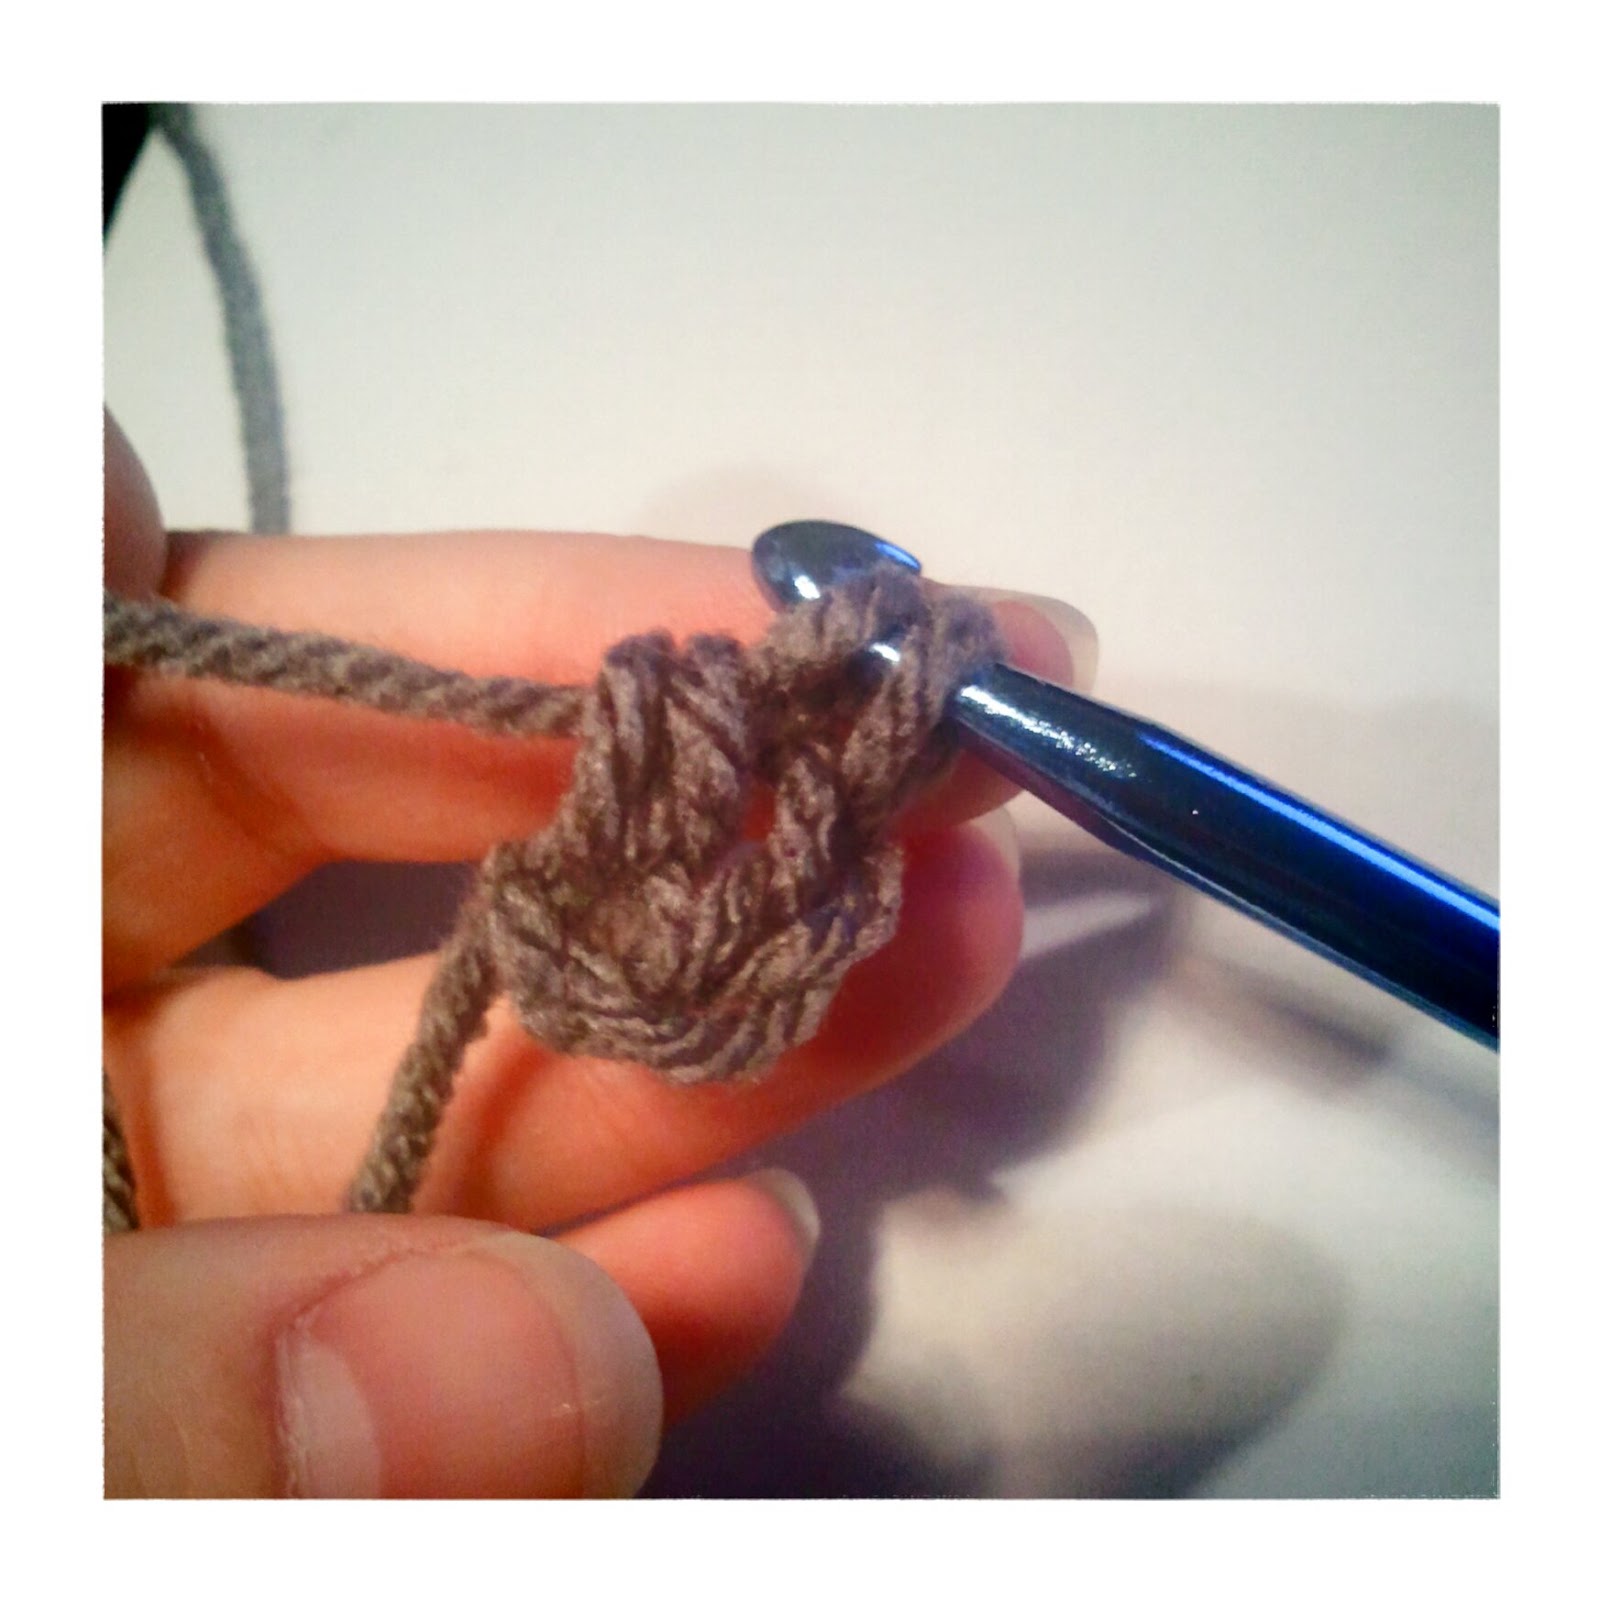
 11 double crochet into the first chain you make.  My thumb nail is holding the knot at the beginning and the tail.

 Yarn over and insert into the ch1.
 Pull through.
 Yarn over, pull through.
Complete your dc.  

Now you have your original chain 2 that is being counted as a dc and your first of 11 dc.
 Here is 5 more dc.

 After 11 dc.
 Join with the first st.  Slip stitch.
And tie off.  WHA-LA!

11.10.2012

Werkin the round - #1

...can be a little intimidating if you haven't done it.   

Lots of very cool projects require you to work in the round.  

This means that you are creating a circle versus creating a chain and going back and forth and back and forth again.   


      ...a couple examples....


These are smaller projects that have one starting point. 

You get the idea.

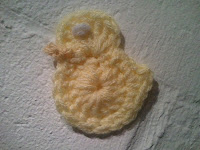
Honestly, I prefer to work this way.  It's generally a little more interesting project. (Isn't the ducky cute!)  You can't make a heart or  a cute ducky without knowing how to start the round.

Lesson One:  
How to start.  Seems a logical place to begin.

Your pattern will tell you if you need to chain or magic circle but let me know you the differences.


There are three ways to start a "round" project.     

1.  Foundation Chain.

This is the one most traditionally used.  

Pros:  It's very commonly used, it is necessary when you are making something that has a large center like a bracelet or a coffee cozy.
Cons:  Its hard to see the middle.


First let's chain 4.


Then join the chain.  You will normally join at the first st.  The pattern will always tell you this.  However, I've never seen it any other way.


When you hear "join" that means to slip stitch.  So go through the first chain you made, grab the yarn, pull through chain AND stitch on hook.


Now the tricky part.  Put the hook through the center ( the middle of all the chains)  and grab the yarn and do your stitch.  


Let's do an sc.


Repeat this step.  Here is three sc.


The pattern will tell you how many to make.  I've completed the first row with 10 sc.  While stitching, hold the tail against your work so it crochets into the piece.  This is what keeps it from unraveling.

To finish; slip stitch into the first sc. 
Ta-da!


10.08.2012

Puff Stitch Flower Tutorial.

These are starting to look decent so I'm going to show you how I make them.  

Keep in mind I've been agonizing over them all day today.  I've made 10.  And started more.  Watched every video I could find and read every tutorial.  It really isn't a difficult stitch.  But its awkward at first.  

Crochet is all about muscle memory.  ALL about it.

Also I apologize for the background switch up.  It took me a minute to realize the glare.

Start with two colors.  You can do one.  I just like to look of two.


Make a Magic Circle.  This was a pain in the ass until it clicked, now I use it for everything.  You can also chain 4, join with a slip stitch, and do 6 single crochet in the hole and start with the second color.  If you wanna do the majestic magic circle try this.  


Pull the yarn through, not a SC (Single Crochet) yet.


Now 5 SC (Single Crochet.  The last loop on he yarn here is going to be the 6th loop for the petal.  One SC per loop.  So in theory, well, in practice really, you can make as many petals as you want, just make that many SC.  If you need help with Single Croceht, try this one.  

***PRO TIP***  Make that first SC a bit exaggerated   It's hard to see and get in with you tighten the yarn.  This will help.


Pull the yarn tight to pull the SCs together.  This is where you are going to want the video linked above.  (Keep trying!)


Join with the first SC.


This is a SL (Slip Stitch whenever you see "join" you are completing the circle with a slip stitch.  Here you may be able to see the 6 ST (stitches) that will become the petals.


Here you are going to grab the yarn again, pull to through and cut it.  You cut it off only if you are going to do another color.  If you are continuing this color skip this step.


Pull it tight.  You will be crocheting into this loop and don't want it to pull more than the rest.  That will warp the petal.  


Ok, now you need to add the next color.  Insert your hook at the ST before the tie you just made.  Put your yarn on the hook and pull it through.  This might help.  Skip to a minute.


When you have it through, chain (CH) 3.  This is going to be the height of your petal.  You can vary this a bit.  Some people are tight crocheters, some are loose.  It's just want is natural for you.  When working in a round I'm tight.  I apologize if the three chains are difficult to see here.


Yarn Over (YO).


Insert the hook into the SAME SC ST (don't forget your vocab!  This is Single Crochet Stitch, this is what you made when you did the magic circle.  You remember, each one is a petal.)


 - Different View - Same Directions - 


Pull through.  Pull up with your hook so that the three loops you have on your hook is the same length.  This will help create space you will need later and keep the height of the petal consistent.


Do this YO (Yarn Over) and pull through 4 times.  This will give you nine loops on your hook.  You can do more or less depending on how full you want your petal to be.  It's your call. 9 seemed good to me, that when the SC ST started getting tight.  When it does start getting tight there is nothing wrong with pulling the circle to stretch it a bit.  It will spring back.  


YO....


And pull through all 9 loops.  This is going to take you a couple tries.  The more consistent the height is, the easier this will be.  A couple pics up when we started this step.  That's what I was saying.  :)


Tug it a bit to bunch the loops up a little and CH 3.  Some patterns will tell you to SL (Slip Stitch) one and chain 2 but really you're chaining 3 so, yah.  Do that.


Now this is important.  This is what I was weirding out about.  Take that and go back into THE SAME HOLE.  The same one.  


Pull through.... 


And chain 3. (SL and CH2)  
***PRO TIP***  The difference in a chain and a slip stitch is really where you are in the pattern.  If you are going into a ST its a slip.  If you aren't and you are just grabbing the yarn and pulling it through itself, then it's a CH.


YO and insert your hook INTO THE NEXT SC ST.  This begins your next petal.
* Repeat all steps 5 more times.  


At this point is when I cut these.  I stitch around them for one petal and get rid of em.  Some people keep them the whole time to secure them.  I figure they are secure.  The likelihood of this coming undone from those tails is like ... like ...  someone giving me a time machine so I can go back to 1945 to pick up some dresses and get a hair cut.  Not bloody likely.


FF>>

Alllllright.  Good job getting to here!  Now, you are back at the top of the 6th petal.  You are going to do the same...


CH 3 and connect with a SL to the same SC ST.


The difference here is that you are going to pull it up and cut the string.  I tend to cut the tail part.  I'm keeping a long string because I'm using it to sew the flowers together later.


Pull it TIGHT and in the direction of the center.  This will keep it close to the middle to make it look more complete and secure.


Pull on the side that you have designated as the "wrong" side.  The side that won't be seen.  My "wrong" side is the flatter one.  I want the puff to be the visible part.


Aaaaand done.


I kind of love them.  :)

The Official Pattern
Color 1 - 
Row 1 - Magic Circle, SC 5, SL to join
Color 2 - 
Row 2 - Chain 3, YO, through SC ST, YO* Repeat 4x, Pull through loop, CH 3, through ST, SL, CH 2, YO through next SC ST * Repeat 6 times.  Last SC SL complete with SL.

(All those pics for THAT.)