I'll show you how to make this little guy.

This is a beginner pattern for a newborn winter hat.
Materials
I hook
Worsted Weight yarn.
- I have Red Heart With Love
Stitches
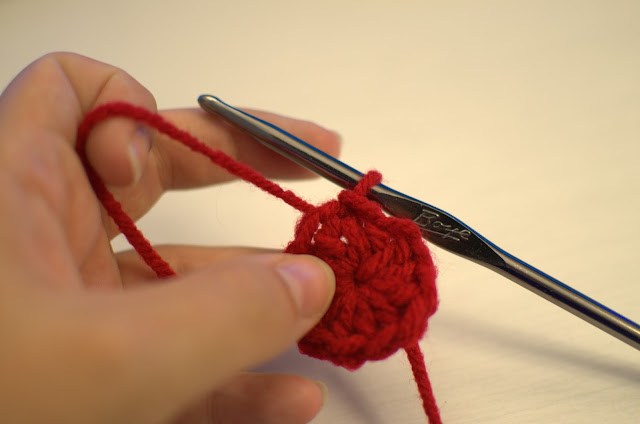
Magic Circle
hdc - Half Double Crochet
ch - chain
sl - slip stitch
sp - space
fl- front loop
front loop only (I'll show you)
Also
- The beginning of each row will have a ch 2. This counts as the first hdc. Meaning when you should end up with 24 hdc at the end of a row, you will have a ch2 and 23 hdc.
- You are joined at the end of each round. This is not a continuous stitch. (which means if you want to change colors it will look a lot nicer)
***NOTE***
If you just want the pattern look for the bold and italicized row directions.
I used hdc on this because its just a fuller, warmer stitch.
First.
Row 1 - You want to do a Magic Circle (see above for the link to a video). Ch2 and 11 hdc and join (12hdc)
Here is your join -
You are going to insert your hook at the 2nd chain you chained in the very beginning. This will make it look more seemless. If you go into the space, you will create a bigger space and a "seam" up the side.

sl (slip stitch)
Then ch2.
This is the beginning of the next row.
Remember that 2nd chain is where your hook will be going when you come back around to join. If you want to make it a little easier on yourself go ahead and exaggerate this chain just a bit so it's easier to see.

Hdc in the same space. And continue around.

Row 2 - Ch2 then hdc in same stitch. hdc in next stitch then 2hdc in the next stitch. *hdc,2hdc* repeat* around and join in ch-2 sp. (24 hdc)
So basically each stitch is a space between the comma. The * tells you that you need to repeat these two different spaces over and over. If it was all written out it would be ch2 and hdc, hdc,2hdc,hdc,2hdc,hdc,hdc,hdc,2hdc,hdc,2hdc,hdc,2hdc,hdc,2hdc,hdc, join.
See why they shorten? :)
Here is what that row is going to look like, and the join again just for fun.


The next row is very much the same with a TWIST. This time you will have two stitched of one hdc between a stitch of 2hdc. Like this...
Row 3 - Ch2 then hdc in same. hdc in each of the next two stitches then 2hdc in the third stitch. *hdc,hdc,2hdc* repeat* around and join in ch-2 sp. (36 hdc)
Simple as that. If you are new to rounds and/or patterns this is odd at first, but it starts to make sense really fast.
Now at this point is where I stop increasing the stitch. Because this is a newborn hat I want to keep it small and its yarn so it's gunna stretch a bit. So row 4 is going to be the same number of stitches as row 3, 36. This is what it would look like in a book.
Also - you can add as many rows are you want. This doesn't HAVE to be this size just add another hdc before doing the 2hdc increase. You can go on forever. :)
Row 4 - 10 - ch2 then hdc in same. hdc in each stitch around and join in ch-2 sp. (36 hdc)
Row 4 will be repeated until you have completed 10 rows.
Go ahead. I'll wait.
(Tick. Tock. Tick.)
This is after 5 rows. Because you aren't increasing it's starting to bowl.

Stop at 10 rows.
We are going to do something a little different. You will do the same stitch but in the front loop only. This will cause the hat to be able to flip up easily.
Row 11 - ch2 then hdc in same. hdc in each FL around and join in ch-2 sp. (36 hdc)
It looks like this.
The stitch is a "v" shape. You just want the side closer to you. Here I pulled them out a bit.


You will be able to easily fold it on itself. It's almost a hat!

Continue.
Row 12 and 13 - ch2 then hdc in same. hdc in each stitch around and join join in ch-2 sp. (36 hdc) (same as row 4 through 10) Finish off.
After the join pull up to make a big loop.


Lastly, sew in the tail from the magic circle.

Flip the brim down and wha-la!


Copyright - All photos, pattern, and crochet created and property of Teresa Millies.