12.27.2012

Sewing: Crochet Hook Case

I found this on Pinterest.

Its awesome.  I needed something cool to put my hooks in so I gave it a try.

Keep in mind I am not a seamstress.  But I like it  :)

The link above gives some great examples, I also documented my experience for a hook case.

The book I found a a thrift store and thought it was perfect.  I always say I love grannies cause of the symmetry.  "Brief Analytic Geometry".


Materials:  Glue gun, fabric, book with the pages out, exacto knife, ruler, scissors, and a piece of Bristol Board we had left over from another project.  (you want to add something like this or cardboard to the book binding to give it some structure.)

You will also need a sewing machine and stick pins.


So I tried to do this: 

But it totally didn't work out.  there was stitches everywhere and I was really nervous I was going to break the needle on the hooks.  I finished this piece but quickly threw it out.  I elected to go this route instead. 


I used the failed piece to measure out another piece.  It was 10cm by 10cm.  I kinda just put the hook on it and eye balled the sizing.  Its a cut up t-shirt so there is more give than most fabrics. (also, this is why I can't sew, too much "eye-ballin")


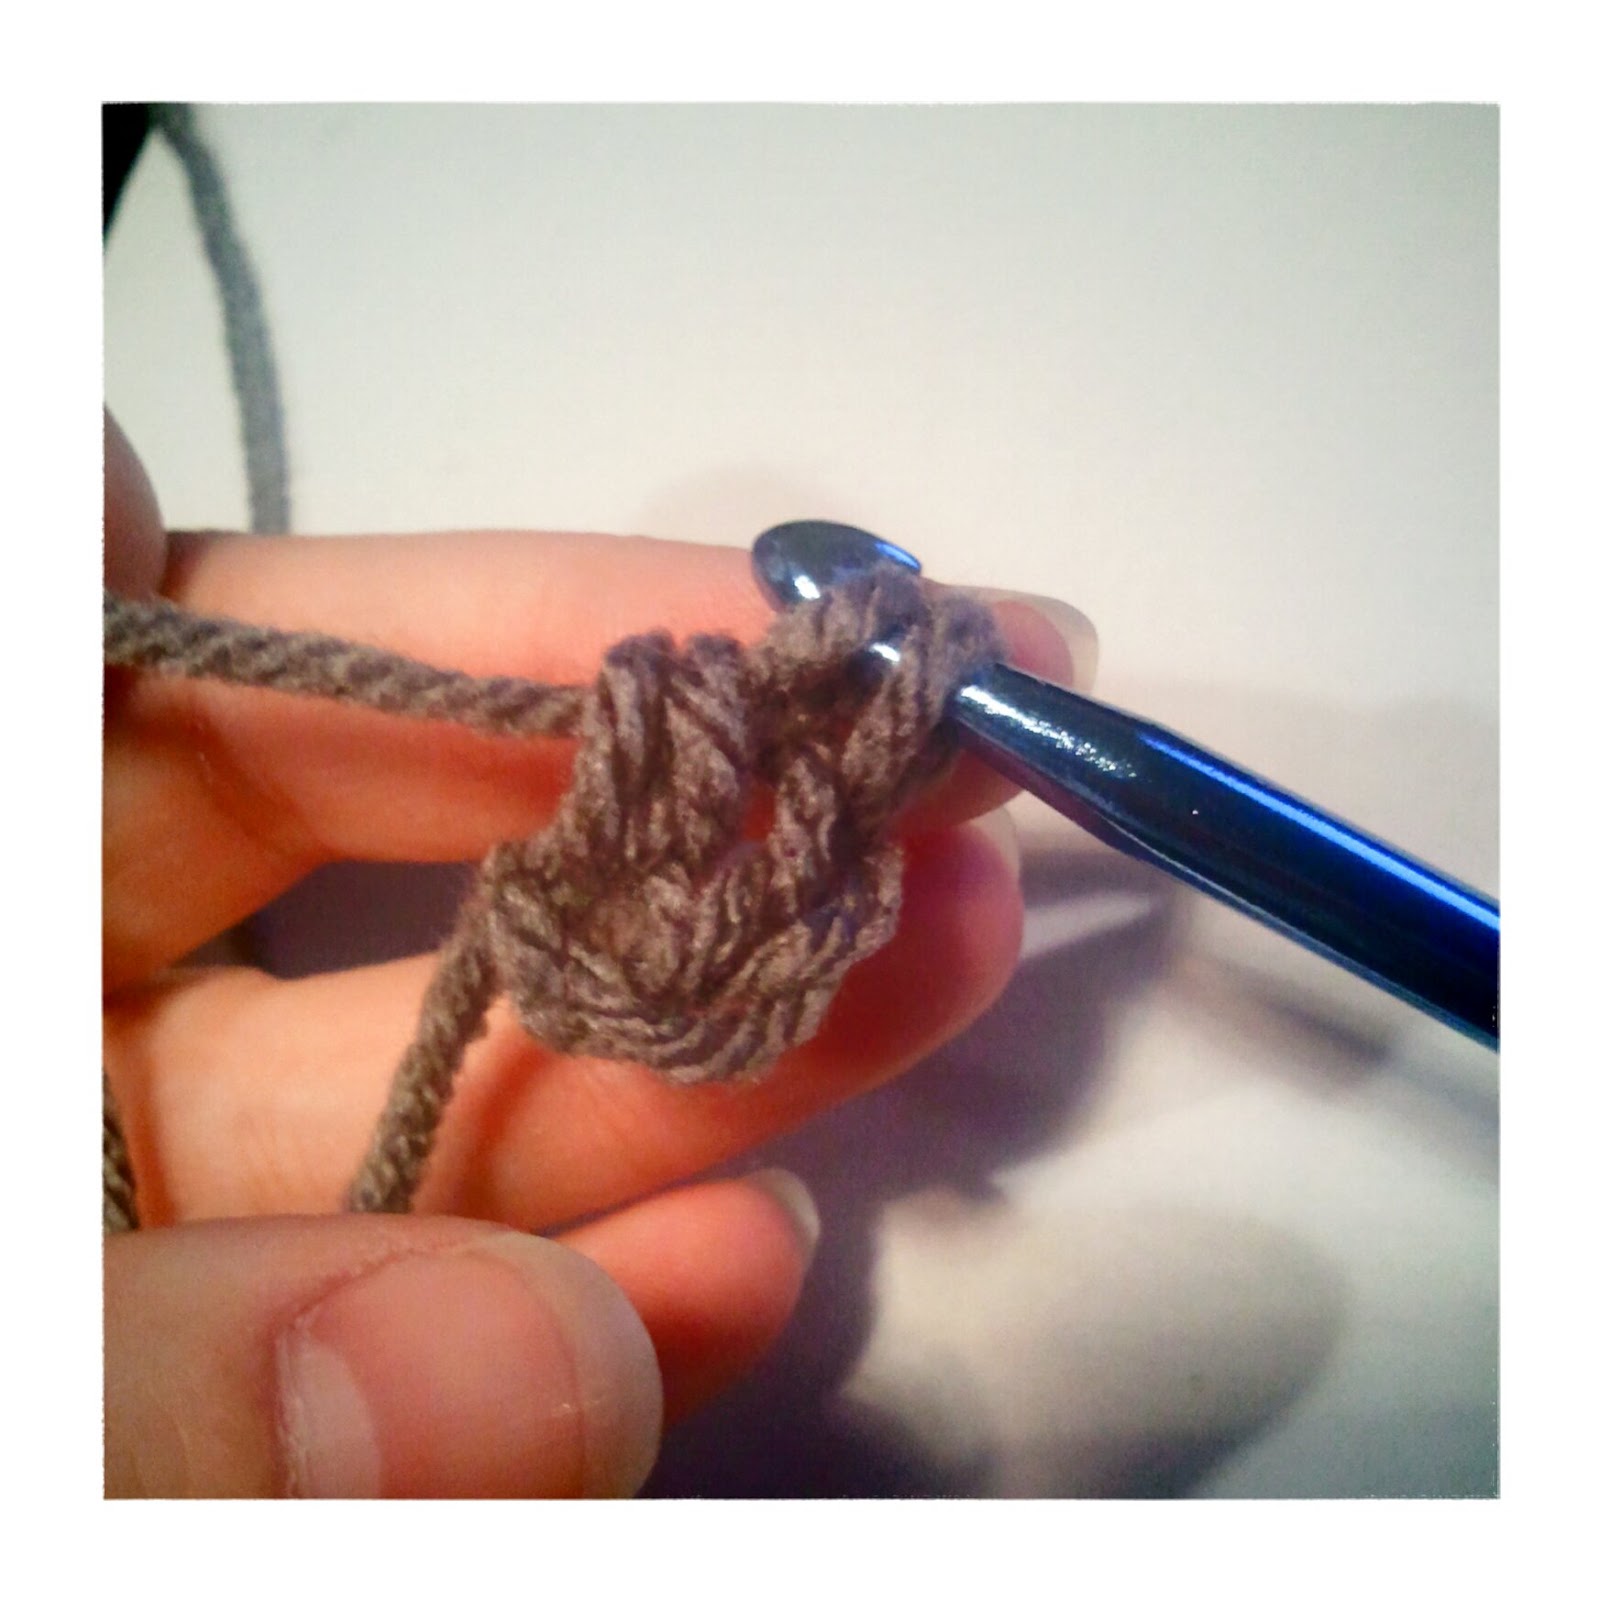
I used this stitch so I didn't have to try to fold it under and have an extra stitch.


Next I sewed on the reverse side.  A ruffle from the shirt to hold needles, and a little pouch to hold my scissors that I can't seem to keep my hands on.

Next you're going to hot glue it onto the book.  Don't forget you have to fold the edges under, don't glue to far out or you will have to rip it off.  I did.


Done.  :)  Like I said, Its not perfect.  But I really like learning more about my sewing machine and playing around with it.  :shrug:  I like it. 


Flower and Bow Headbands

One of the things I couldn't show you until now are these...


I made these for my 11 year old cousins.  Each one took under 5 mins and I found myself wishing that I wouldn't look ridiculous wearing them.

I picked up a pack of headbands at Target and used a simple bow and flower pattern.  I happened to have the yarn that matched the colors really well.

In the bow, I wrapped it together and around the headband at the same time.

In the flower I added the button and used that to affix it to the headband.

I used 4ply yarn and my trusty G hook.

I'm happy to say the girls seemed to love them.


12.19.2012

DforV: DONE!

I ended up with 331.  I'm missing 5.  I'm not worried about it.

 And now for the hard part.  

Sewing all these little buggars together.

Also, I was shooting for her 1st birthday.  That was Nov 21st.  Then Christmas.  That's in 4 days.

Towards the end this wasn't something that I exactly enjoyed doing.  I can knock out 20 in an hour and a half.  I had about 30 other projects for Christmas, an ornament exchange with my lady friends and an art show that I participated in.  So I decided to lift my goals for this blanket.  Vi will not know or care when I gave it to her.  Just that I made it for her.  I hope she grows to like yellow, gray and blue.  I still hate green.

YAY!!!  

On to the next big project.  It's for baby of a couple that are awesome.  I just hope they get the reference.  I have one month to complete.  :)

12.14.2012

Super Simple Mustache.

Hi guys!!!

Been working too hard to even update this!  And on too many *secret* things  :)

Today I have for you an accident.  I made a fu manchu while trying to make a curly mustache. Opps and yay.

Its easy. Just one row;

Ch 20
sl into the second ch from the hook.
then do this....
sl, sl, sc, hdc, dc, tr, dc, 2hdc, sl, 2hdc, dc, tr, dc, hdc, sc, sl, sl, sl
Tie off and sew in.

WHALA.


11.14.2012

Werkin in the round #2

This technique is the one I learned most recently.  It makes perfect sense and may be the easiest one.


THERE ARE THREE WAYS TO START A "ROUND" PROJECT.     

2.  Work into Ch1


Pros: simple.
Cons: may be slightly less strong than the others, just a guess though.  Works best with double or treble.  Larger-ish center.

Any pattern will tell you how to being your project.  You can always adapt said pattern.  It's YOUR project after all.  It's ultimately up to you how you want to begin your round.  

If your pattern says;

Row 1 - Ch4, join with slip stitch
Row 2 - 12 dc in center

That is exactly what we did here

In this example it can be translated as;
Row 1 - chain 3.  Work 11 dc into first ch (or second ch from hook)


Note; The first ch acts as the center of the work, the second and third chain act as the first dc.


This is really the exact same thing.  

Yay!  Options.

So.  Here we go....
Chain 4


 11 double crochet into the first chain you make.  My thumb nail is holding the knot at the beginning and the tail.

 Yarn over and insert into the ch1.
 Pull through.
 Yarn over, pull through.
Complete your dc.  

Now you have your original chain 2 that is being counted as a dc and your first of 11 dc.
 Here is 5 more dc.

 After 11 dc.
 Join with the first st.  Slip stitch.
And tie off.  WHA-LA!

11.13.2012

Vi's First Birthday.

The squirt's first birthday is next week and I'm making stuff.  I always make stuff.  I have bright ideas and I jump into them with not enough time and then they aren't exactly what I wanted.  Blah blah blah.  

First here is her invitation.  This took me too long.  But the first piece of the design always does.  


However.  This was easy and I'm in love with them.  

None of the ones in the stores were what I was thinking so I made these.  I happened to have a stamper that fit the design PERFECTLY.  Seriously.  No measuring or anything.  It was perfect.  


This last pic is the most true to color.  I love my phone app too much sometimes.  :)  

I love making these little details.  I realize the majority of these will just end up in the garbage.  But all I spent on them was ink.  <3

11.10.2012

Werkin the round - #1

...can be a little intimidating if you haven't done it.   

Lots of very cool projects require you to work in the round.  

This means that you are creating a circle versus creating a chain and going back and forth and back and forth again.   


      ...a couple examples....


These are smaller projects that have one starting point. 

You get the idea.

Honestly, I prefer to work this way.  It's generally a little more interesting project. (Isn't the ducky cute!)  You can't make a heart or  a cute ducky without knowing how to start the round.

Lesson One:  
How to start.  Seems a logical place to begin.

Your pattern will tell you if you need to chain or magic circle but let me know you the differences.


There are three ways to start a "round" project.     

1.  Foundation Chain.

This is the one most traditionally used.  

Pros:  It's very commonly used, it is necessary when you are making something that has a large center like a bracelet or a coffee cozy.
Cons:  Its hard to see the middle.


First let's chain 4.


Then join the chain.  You will normally join at the first st.  The pattern will always tell you this.  However, I've never seen it any other way.


When you hear "join" that means to slip stitch.  So go through the first chain you made, grab the yarn, pull through chain AND stitch on hook.


Now the tricky part.  Put the hook through the center ( the middle of all the chains)  and grab the yarn and do your stitch.  


Let's do an sc.


Repeat this step.  Here is three sc.


The pattern will tell you how many to make.  I've completed the first row with 10 sc.  While stitching, hold the tail against your work so it crochets into the piece.  This is what keeps it from unraveling.

To finish; slip stitch into the first sc. 
Ta-da!


11.08.2012

Car Seat Afghan


I fell in love with the shell stitch I did on the cozies.  Its SO simple, yet so much more interesting to look at than straight sc or dc.

GOUR-JIS!

While I was daydreaming about the texture I was thinking Vi needs a blanket for her legs in the car, but she just kicks everything off.  She's like her dad.  No shoes, socks or anything else on her feet if she can help it.  So she needs something that is somewhat connected to her.

Simple enough idea.  An afghan that has an opening for the buckle.  She can't kick it off, but can still play with it and move it around so she doesn't just get mad at it.

So wha-la.


My gramma would be so proud of that razor sharp edge.  :D


With Ollie the Octopus! (Although doesn't he look more like a squid?)

This took me a day.  But probably 6 hours all together.  Very nearly an entire skein of Red Heart Dark Orchid.  And some definite wear on the wrist.  But DAMN it's cute.

11.07.2012

OHSOCOZY!

One of the easiest things I've found to make are coffee cup cozies.  There is no real necessity for them, but they feel so nice.  Hot Chocolate is THAT much better with one.  It's like a glove for your mug.  You know you want one.  

I've got a pattern for a handle-less mug, but I really like this one I found tonight of a handle mug.  This is the original pattern I used.  Very cute site, check it out.


I tend to use the pattern, then take it out and modify it.  The way this is written works very well.  I changed it for the yarn I was using and because I wanted a more bulky feel but tighter fitting.  Also, I don't have any cute buttons and I'm impatient so I had to make it without them  :)


I love this shell stitch.  Its simple and much more interesting to look at than sc,sc,sc,sc,sc ugh.

Here is my pattern taken from the site and modified...

Let me know if I can help you with any questions at all!  :)

Materials:
Worsted weight yarn, preferably something easily washable
Size J hook

Stitches used:
Ch- chain
SlSt- slip stitch
SC- single crochet
DC- double crochet


Instructions:
Row 1- Ch 4, and SlSt into beginning chain to create a loop. Ch 2, (counts as a DC), and then make 11 DC in the loop, join to the top of the CH 2. (12)

Row 2- Ch 2, make a DC in same stitch as the CH 2 just made, then make 2 DC in each stitch around, join to top of chain 2. (24)

Row 4- Ch 1, make 1 SC in front loops only in each stitch all the way around, join. (24)

Row 5- Ch 1, (make 1 SC and 1 DC both in the same next stitch, skip next stitch), repeat parenthesis all the way around until 3 stitches are left unworked. 1 SC in the next stitch. Chain 1 and turn

Row 6-  Make 1 SC, and 1 DC in the stitch above the DC from the previous row. Repeat all the way around until 1 stitch is left undone. Make 1 SC in that last stitch. Chain 1, TURN. Repeat row 6 until the mug cozy is the desired height of your cup (about 5 for a normal size mug)

Row 7- Sc around top to beginning.  Sl 4 and join to opposite side.  Sc around the opening to complete.  Sl and tie off. (please note that I did a ch8 in the gray one above. this is when I realized 4 would be more appropriate.)
 

10.25.2012

Aw lookit! A lil owl!

Violet's backpack got me thinking about owls.  

I made a little coffee cozy for my mom with an owl on it and it turned out cute so I wanted to share the steps and the pattern I came up with  :)

Here is the finished product I made for my mom.  

Let me know in the comments if you want that pattern too.  (p.s.: it feels good not needing to credit a pattern.  Cause I made it up all by myself!  :D)

AHEM.

Anyway.

You can use any gauge or yarn.  Its a very simple pattern.  I choose an G for the cosy owl and an I for the following one.   I ended up liking the smaller size of the G better.  

***The complete pattern as I've written it at the bottom of the blog, feel free to skip my rambling.***

Begin with a magic circle and 5 sc (singe crochet)  into the circle.  As was the case with the daisies the loop on the hook is going to be the 6th sc.
Join the circle and sc into each st (stitch).  You are increasing the circle, this is how it comes out flat.  Total of 12 sc around.
 We are changing color next.  I honestly don't like changing colors.  It looks nice.  I want to be good at it.  I'm just not really.  I have to practice more.  I'm just being lazy about it and this is for me and it was an experiment so who cares right?!  Right. Thank you. 

You can see the lack of expertise with the red starting abruptly and the oddness of this.  In a big project it wouldn't be noticeable   

This row is another increase.  We want to keep this as flat as we can, so do 2sc in each st to beg (beginning).  You will have 24 sc.
 OK.  That's the body.  Lets start the head. Continue with 2sc for the next three stitches.  You are going to want 6 sc st on the top.
 Those scs are the foundation of the head.  Ch(chain) 3 and turn.
 The head is really just two roundish bumps to accommode the eyes.  Now dc (double crochet) in the SAME place as the beginning of the chain.  And do two more dc.  You are going to have 4 columns now.
 To create the bump down sl (slip stitch) in the next SC.  Then continue with 3 more dc in the next three stitches. At this point you will have a very straight side and a rounded side.  To balance the sides chain 2 and sl into the next st.
BODY DONE!

Now for eyes.

Magic circle, 4 sc DO NOT JOIN, tie tails together.  This makes a not quite round circle.
Figure out your placement.  And sew them on.  This is where you will need a yarn needle.  Normally you would sew in the ends.  But in this case I tie them.  It is a bit of an old school crochet no-no.  But who cares.  I don't want them showing through the other color yarn so I tie em.

The pupils of my slightly cross eyed owl are achieved with a technique called a French Knot.  Learn it, love it.  I learned this one when doing embroidery.  It's tricky at first but an invaluable yarn art skill. 
The beak is a yellow sewn in piece of yarn.  More embroidery here.   Cut a piece about this size.
Insert the needle from the back slightly underneath the eye.  
 Then insert it right underneath the other eye.  Leave some slack.  This is where the magic happens.
Now insert the needle from the back to the point that you want the tip of your beak.  Pull it tighter.

Pull the yarn to make it snug.
Now insert the needle in the SAME hole you just made.  This pulls the tip and you can only see that it is joined this way if you know what you are looking for.  Sew in the end then tie it to the first tail from the first needle poke. 
DONE!  
I think he's cute.  

I tend to enjoy off colors. But I like animals with colors that don't happen to those animals in nature.  :shrug:

 Here is a size comparison
Left - I hook, 2.5inches wide by 3 inches tall
Right - G hook, 2 inches wide by 2.5 inches tall


Hmm...  I wonder what this guy would look like with a super bulky yarn and over sized needle.... 

Pattern:

Supplies:
Hook - G or I
Yarn - Worsted Weight - 4 ply, two or three colors
Scissors 
Yarn needle

Body

magic circle
Row 1:
6sc
join and work a sc in the same st  

Row 2:
2sc in each st (12)  cut off tail

Row 3:
change color
2Sc in each st (24)

Row 4:
2sc in each of the next 3 st ch 2 and turn

Row 5:
dc into same st and 2
st

sl into the next st
dc into the next 3 st
ch2 and sl into next sl
tie off and weave in


Eyes
magic circle
4 sc do not join
tie tails together.  


Beak

4 inch yellow
sew in

Attach to clothes, headband, hat, whatever :)