10.25.2012

Aw lookit! A lil owl!

Violet's backpack got me thinking about owls.  

I made a little coffee cozy for my mom with an owl on it and it turned out cute so I wanted to share the steps and the pattern I came up with  :)

Here is the finished product I made for my mom.  

Let me know in the comments if you want that pattern too.  (p.s.: it feels good not needing to credit a pattern.  Cause I made it up all by myself!  :D)

AHEM.

Anyway.

You can use any gauge or yarn.  Its a very simple pattern.  I choose an G for the cosy owl and an I for the following one.   I ended up liking the smaller size of the G better.  

***The complete pattern as I've written it at the bottom of the blog, feel free to skip my rambling.***

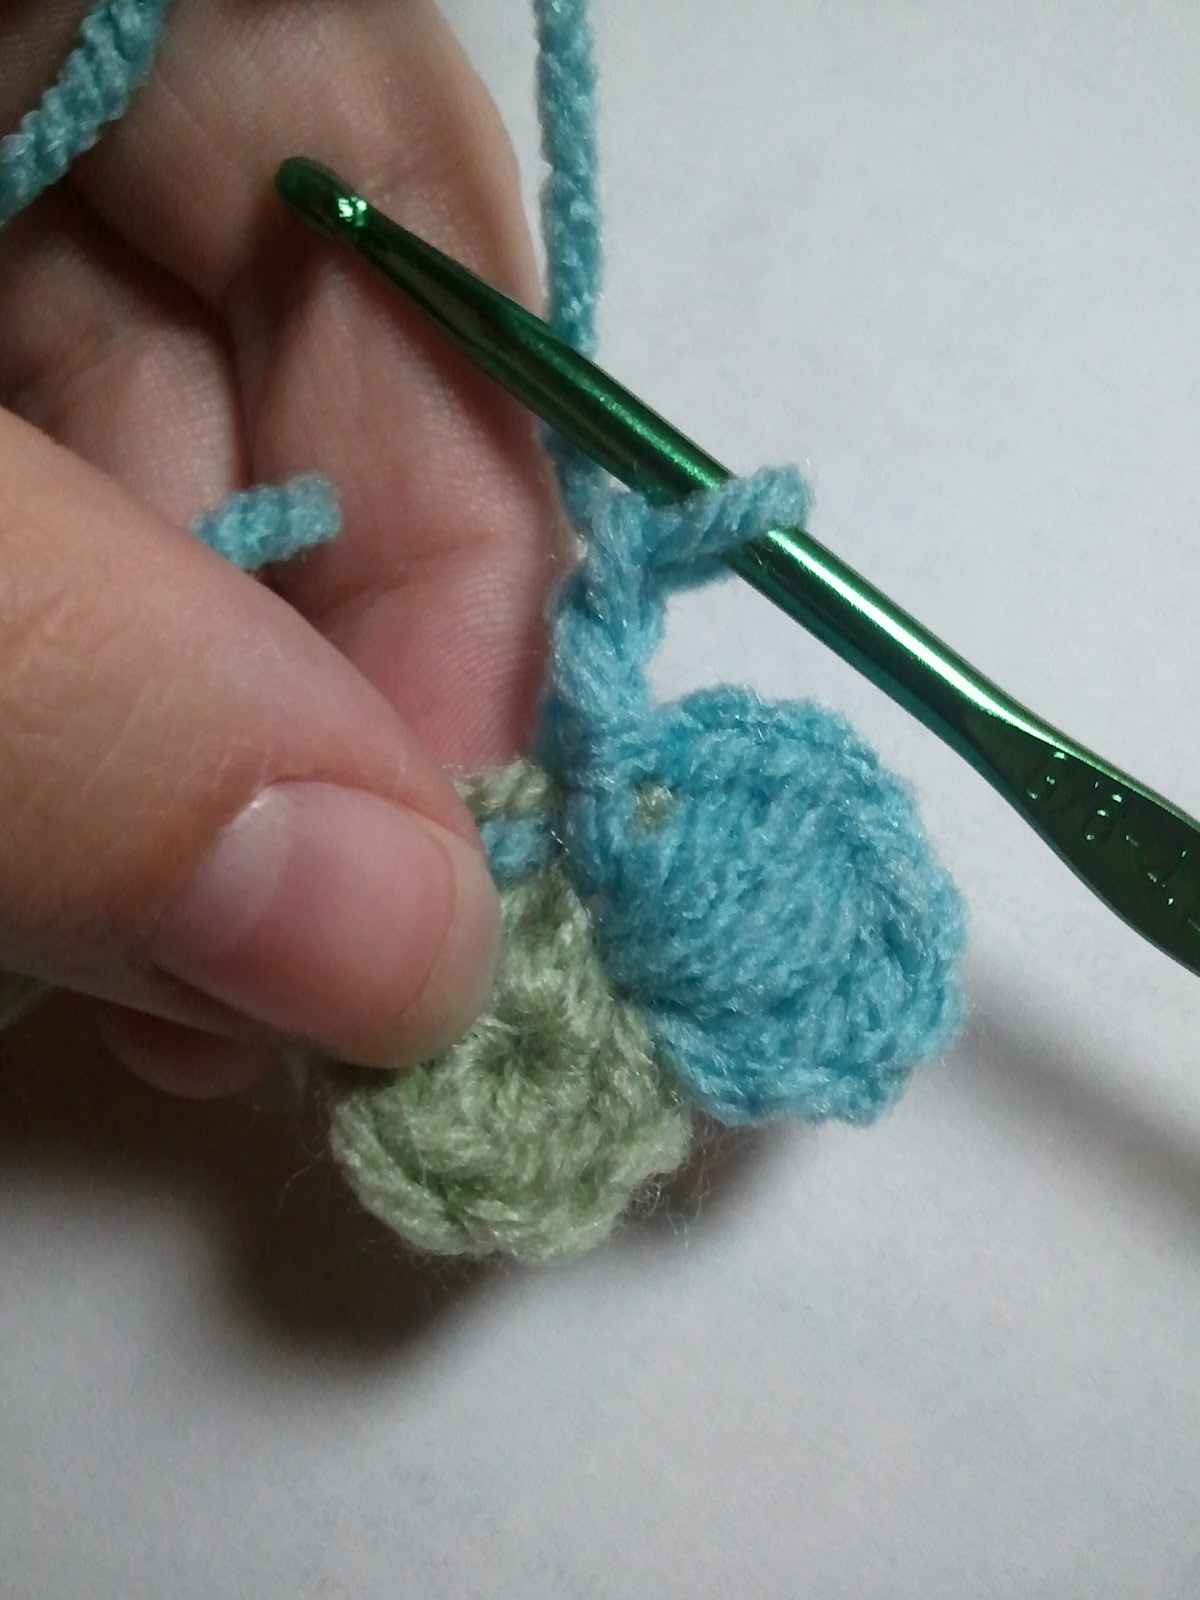
Begin with a magic circle and 5 sc (singe crochet)  into the circle.  As was the case with the daisies the loop on the hook is going to be the 6th sc.
Join the circle and sc into each st (stitch).  You are increasing the circle, this is how it comes out flat.  Total of 12 sc around.
 We are changing color next.  I honestly don't like changing colors.  It looks nice.  I want to be good at it.  I'm just not really.  I have to practice more.  I'm just being lazy about it and this is for me and it was an experiment so who cares right?!  Right. Thank you. 

You can see the lack of expertise with the red starting abruptly and the oddness of this.  In a big project it wouldn't be noticeable   

This row is another increase.  We want to keep this as flat as we can, so do 2sc in each st to beg (beginning).  You will have 24 sc.
 OK.  That's the body.  Lets start the head. Continue with 2sc for the next three stitches.  You are going to want 6 sc st on the top.
 Those scs are the foundation of the head.  Ch(chain) 3 and turn.
 The head is really just two roundish bumps to accommode the eyes.  Now dc (double crochet) in the SAME place as the beginning of the chain.  And do two more dc.  You are going to have 4 columns now.
 To create the bump down sl (slip stitch) in the next SC.  Then continue with 3 more dc in the next three stitches. At this point you will have a very straight side and a rounded side.  To balance the sides chain 2 and sl into the next st.
BODY DONE!

Now for eyes.

Magic circle, 4 sc DO NOT JOIN, tie tails together.  This makes a not quite round circle.
Figure out your placement.  And sew them on.  This is where you will need a yarn needle.  Normally you would sew in the ends.  But in this case I tie them.  It is a bit of an old school crochet no-no.  But who cares.  I don't want them showing through the other color yarn so I tie em.

The pupils of my slightly cross eyed owl are achieved with a technique called a French Knot.  Learn it, love it.  I learned this one when doing embroidery.  It's tricky at first but an invaluable yarn art skill. 
The beak is a yellow sewn in piece of yarn.  More embroidery here.   Cut a piece about this size.
Insert the needle from the back slightly underneath the eye.  
 Then insert it right underneath the other eye.  Leave some slack.  This is where the magic happens.
Now insert the needle from the back to the point that you want the tip of your beak.  Pull it tighter.

Pull the yarn to make it snug.
Now insert the needle in the SAME hole you just made.  This pulls the tip and you can only see that it is joined this way if you know what you are looking for.  Sew in the end then tie it to the first tail from the first needle poke. 
DONE!  
I think he's cute.  

I tend to enjoy off colors. But I like animals with colors that don't happen to those animals in nature.  :shrug:

 Here is a size comparison
Left - I hook, 2.5inches wide by 3 inches tall
Right - G hook, 2 inches wide by 2.5 inches tall


Hmm...  I wonder what this guy would look like with a super bulky yarn and over sized needle.... 

Pattern:

Supplies:
Hook - G or I
Yarn - Worsted Weight - 4 ply, two or three colors
Scissors 
Yarn needle

Body

magic circle
Row 1:
6sc
join and work a sc in the same st  

Row 2:
2sc in each st (12)  cut off tail

Row 3:
change color
2Sc in each st (24)

Row 4:
2sc in each of the next 3 st ch 2 and turn

Row 5:
dc into same st and 2
st

sl into the next st
dc into the next 3 st
ch2 and sl into next sl
tie off and weave in


Eyes
magic circle
4 sc do not join
tie tails together.  


Beak

4 inch yellow
sew in

Attach to clothes, headband, hat, whatever :)

10.24.2012

Owl Baby Backpack


Tomorrow we will be taking Violet in for her second holter monitor.  She has had two previous episodes of SVT at 9 and 15 days old.  She has not had an episode since.  My husband and I are looking at her year milestone not as when she will be a big girl or when she should start walking (we are well past walking and into running at this point) but as an ending to medication.  If this monitor comes back normal we can take her off her meds.   If the one in a couple months is normal, we can leave her off her meds.

I'm very excited for this.  I'm not a fan of medication.  The side effects always worry me.  I don't take Advil and I'm terrified of codeine.  I refused even an IV in labor.  Not because it didn't hurt.  (cause holy mother of GOD.)  But because I was scared of side effects.

SO.  Tomorrow we take her into get her holster.  She will have 6 leads attached to her and this pack that takes in all the information about her heart.  She will have to leave this all alone.

The last monitor was at four months.  At that time she was on her tummy trying to crawl and wasn't interested at all in the leads.  I don't think this time is going to be that easy.

My bright idea came while she was nursing, as so many of them do.  I made her a backpack to hold her monitor.  And then her toys cause it's just really damn cute.

This isn't a tutorial cause I winged it most of the time.  But I may make a larger one and make a tutorial out of that.  That is, if you want.  :)

Basically, its 2 tight granny squares with a drawstring.  Very simple design.


I completed the granny squares and joined them with a double crochet (dc) and then a slip stitch.  So you go around one square and add a dc then join the back square with a Slip Stitch (sl).  


I did this with the right sides facing out.  I probably should have done it the other way because this way the back kind of folds in.  If I had done wrong side together I could have flipped it inside out and it would have a more round shape.


After adding the sides I made the chains at the top for the draw string.  Its a chain 7, skip a single crochet and single crochet in the next all the way around to the beginning.  (So that's - Ch7, sk, sc* to beg)


After adding the sides I made the chains at the top for the draw string.  Its a chain 7, skip a single crochet and single crochet in the next all the way around to the beginning.  (So that's - Ch7, sk, sc* to beg)

The draw string is a big chain.  I used 3 red yarn and one white and a J hook.  Then just weave it in.  doubling on the back so that you can pull the arms out.


Next tie the end of the chain to the bag.  I put mine at the very bottom.  Violet is a small 11 month old, only 17 lbs.  So I had to have this snug on her body.  


Pull the sides to make sure it "draws" correctly....


Next I put a little buckle in the front so that the arms wouldn't slip off.  they would have probably been fine, but I don't want it moving around too much.

This is a ch8 and two rows of sc.  At the end chain 5 and attach at the opposite end.  I sewed it on with the tail and attached a button.


And WALA!


Credit: I got the adorable owl granny pattern here -
 http://www.justcraftyenough.com/2012/08/iron-craft-challenge-16-owl-blanket-for-a-baby-bird/

10.21.2012

Some small projects.

Hey guys.

I've made a couple things the last few days.

Mostly because I've got about 100 flowers done and I'm kinda sick of making them.  Not that I won't do it.  Not that I won't love it when its done.  But man, that's a lot of flowers.


So in between my 5 flowers a day I've done...

A gift for a good friend's son.  It is a hat and scarf.  I enjoyed making the hearts.  I had never done that before.


I also made this.  Mostly because I thought it looked really interesting.  It turns out its HUGE (pen for scale) and I'm not sure what to do with it.  Any ideas?


I've also started a head band for a friend and a banner for Violet. I'm starting to think her entire room is going to be granny squared.  :)

10.14.2012

DofV: update

I've been keeping up with my 5 a day and I have some gorgeous grays sitting in the pile now.

51 of 336 completed.

Vi has been very Vi the last couple days.  Too much fun.  That's my excuse. :)


10.09.2012

DforV: Cornmeal

Worst name for a color ever.  
But it's pretty with yellow.  Which really is the best name for a color ever.  'Cause you know its a color name.  
Not a food....

ANYWAYZ


33 done.  303 left. Progress.

If I do 5 a day I'll be done in 60 days  :D

10.08.2012

DforV: Right Vs. Wrong

I've been doing this all day.  I've got 21 and a couple things I've figured out.  First, here they are....


Ok, lets talk a little bit about Right Vs. Wrong.  

There are two sides to a crochet project.  The "right" side and the "wrong" side.  The names are misleading.  You can prefer either side, and either side can be the finished product.

Generally speaking, the wrong side is the one opposite of the right side which is facing you when you work.

Wrong = Back
Right = Front
As the pattern indicates.

For these flowers there are two steps.  The center and the petals.  General speaking, again, you work on the right side.  I created the centers and continued the petals looking at the right side.  

BUT when the petals are done, I liked the wrong side better.  The wrong side in this case is puffy and the right is flat.

You follow?

SO.  Here is the difference....


In the "right" you see what I call the SC Vs.  The single crochet stitches form Vs that you put your hook under.

On the "wrong" you see what I call the equal sign.  Here you are putting your hook between the signs on either side. 

Depending on which one you have facing you when you make the petal, the centers turn out differently.  Lemme show you.


Here is the right and wrong side and the completed petal.  When I crocheted into the right side of the hook I got what you see on the left.  It is flat and looks like a spoke to me.

When I crocheted into the wrong side I got what you see in the right.  A nice little circle.

Keep in mind that when you are making the petals the side you are looking at will end up being the "wrong" side of the project, or in my case the side that is facing the mattress.   You have to flip over the flower to see the puff on the top.    This is a little hard to show, but here's a shot at it.


Also last note, you can't push that puff in to reverse the top of the flower.  I tried and now I have two flat flowers.  Wah wah.  :(

So.  Yah, I hope that made some sense.  Let me know if this helps or just makes it worse.  :)  Now go up to the top pic and find the two different ways.  :)

Also.  If you are following along, let me know.  If you have questions I might be able to help.

Granny Squares of Doom.

This is my first real afghan.  I did this over 2 months.  Every night.  Sometimes day and night, while the kid slept.  Each round took between 5 and 7 minutes.  121 squares.  7 colors. Only one repeated pattern.  Queen size and warm as hell.

Many lessons learned.  

If you really want to learn crochet.  This is my recommendation. Decide on a project.  A big one.  And go for it.


This is the most basic granny square there is.  I love these colors.

Puff Stitch Flower Tutorial.

These are starting to look decent so I'm going to show you how I make them.  

Keep in mind I've been agonizing over them all day today.  I've made 10.  And started more.  Watched every video I could find and read every tutorial.  It really isn't a difficult stitch.  But its awkward at first.  

Crochet is all about muscle memory.  ALL about it.

Also I apologize for the background switch up.  It took me a minute to realize the glare.

Start with two colors.  You can do one.  I just like to look of two.


Make a Magic Circle.  This was a pain in the ass until it clicked, now I use it for everything.  You can also chain 4, join with a slip stitch, and do 6 single crochet in the hole and start with the second color.  If you wanna do the majestic magic circle try this.  


Pull the yarn through, not a SC (Single Crochet) yet.


Now 5 SC (Single Crochet.  The last loop on he yarn here is going to be the 6th loop for the petal.  One SC per loop.  So in theory, well, in practice really, you can make as many petals as you want, just make that many SC.  If you need help with Single Croceht, try this one.  

***PRO TIP***  Make that first SC a bit exaggerated   It's hard to see and get in with you tighten the yarn.  This will help.


Pull the yarn tight to pull the SCs together.  This is where you are going to want the video linked above.  (Keep trying!)


Join with the first SC.


This is a SL (Slip Stitch whenever you see "join" you are completing the circle with a slip stitch.  Here you may be able to see the 6 ST (stitches) that will become the petals.


Here you are going to grab the yarn again, pull to through and cut it.  You cut it off only if you are going to do another color.  If you are continuing this color skip this step.


Pull it tight.  You will be crocheting into this loop and don't want it to pull more than the rest.  That will warp the petal.  


Ok, now you need to add the next color.  Insert your hook at the ST before the tie you just made.  Put your yarn on the hook and pull it through.  This might help.  Skip to a minute.


When you have it through, chain (CH) 3.  This is going to be the height of your petal.  You can vary this a bit.  Some people are tight crocheters, some are loose.  It's just want is natural for you.  When working in a round I'm tight.  I apologize if the three chains are difficult to see here.


Yarn Over (YO).


Insert the hook into the SAME SC ST (don't forget your vocab!  This is Single Crochet Stitch, this is what you made when you did the magic circle.  You remember, each one is a petal.)


 - Different View - Same Directions - 


Pull through.  Pull up with your hook so that the three loops you have on your hook is the same length.  This will help create space you will need later and keep the height of the petal consistent.


Do this YO (Yarn Over) and pull through 4 times.  This will give you nine loops on your hook.  You can do more or less depending on how full you want your petal to be.  It's your call. 9 seemed good to me, that when the SC ST started getting tight.  When it does start getting tight there is nothing wrong with pulling the circle to stretch it a bit.  It will spring back.  


YO....


And pull through all 9 loops.  This is going to take you a couple tries.  The more consistent the height is, the easier this will be.  A couple pics up when we started this step.  That's what I was saying.  :)


Tug it a bit to bunch the loops up a little and CH 3.  Some patterns will tell you to SL (Slip Stitch) one and chain 2 but really you're chaining 3 so, yah.  Do that.


Now this is important.  This is what I was weirding out about.  Take that and go back into THE SAME HOLE.  The same one.  


Pull through.... 


And chain 3. (SL and CH2)  
***PRO TIP***  The difference in a chain and a slip stitch is really where you are in the pattern.  If you are going into a ST its a slip.  If you aren't and you are just grabbing the yarn and pulling it through itself, then it's a CH.


YO and insert your hook INTO THE NEXT SC ST.  This begins your next petal.
* Repeat all steps 5 more times.  


At this point is when I cut these.  I stitch around them for one petal and get rid of em.  Some people keep them the whole time to secure them.  I figure they are secure.  The likelihood of this coming undone from those tails is like ... like ...  someone giving me a time machine so I can go back to 1945 to pick up some dresses and get a hair cut.  Not bloody likely.


FF>>

Alllllright.  Good job getting to here!  Now, you are back at the top of the 6th petal.  You are going to do the same...


CH 3 and connect with a SL to the same SC ST.


The difference here is that you are going to pull it up and cut the string.  I tend to cut the tail part.  I'm keeping a long string because I'm using it to sew the flowers together later.


Pull it TIGHT and in the direction of the center.  This will keep it close to the middle to make it look more complete and secure.


Pull on the side that you have designated as the "wrong" side.  The side that won't be seen.  My "wrong" side is the flatter one.  I want the puff to be the visible part.


Aaaaand done.


I kind of love them.  :)

The Official Pattern
Color 1 - 
Row 1 - Magic Circle, SC 5, SL to join
Color 2 - 
Row 2 - Chain 3, YO, through SC ST, YO* Repeat 4x, Pull through loop, CH 3, through ST, SL, CH 2, YO through next SC ST * Repeat 6 times.  Last SC SL complete with SL.

(All those pics for THAT.)