
We have acquired our short sale home a little over a month ago, fixed it up a bit, moved in and we are still in the process of making it ours. My "craft room" is in the dining room. (Which I kinda love) and I have the same problem I've always had with my yarn set up.

Ugh.
So go to the Dollar Tree and get some clothes pins.
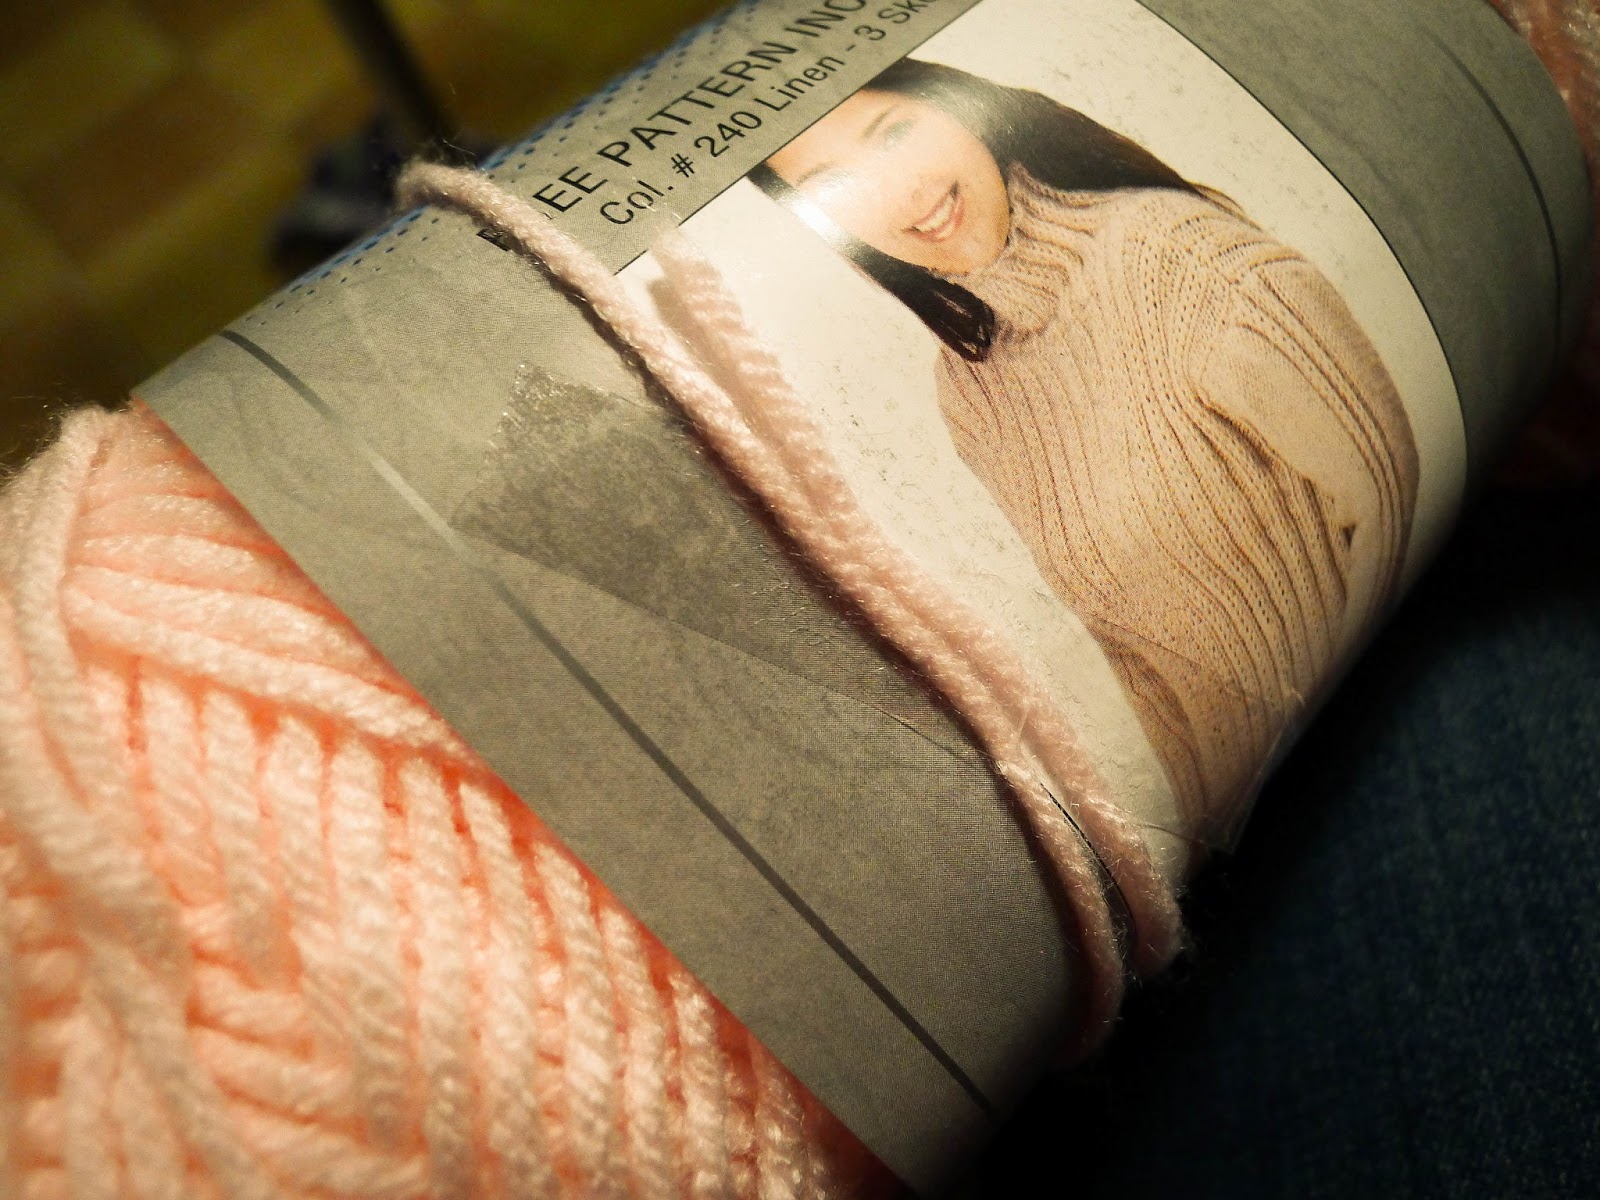
First, I usually have both strings going accidentally. So let's get rid of the not center pull first. Just wrap it around the paper and tape it. I don't like to get rid of the paper cause you may need to color match later. When the skein gets smaller just unwrap the yarn and fold the paper over itself to make it tighter.

Next, pinch the tip of the center pull with the clothes pin and wrap the yarn around it.


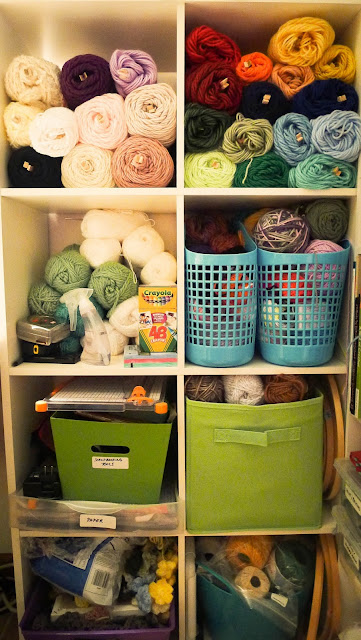

I like EVERYTHING out. If it's not out I forget what I have. I pass on projects that I could pretty easily do or I buy duplicate stuff.
The problem with having it all out is this hanging yarn. My cat has yet to notice it. The lil human beast hasn't noticed it either but ... it's ugly.
I have come up with a solution I want to share.
First.
Before:

So go to the Dollar Tree and get some clothes pins.
First, I usually have both strings going accidentally. So let's get rid of the not center pull first. Just wrap it around the paper and tape it. I don't like to get rid of the paper cause you may need to color match later. When the skein gets smaller just unwrap the yarn and fold the paper over itself to make it tighter.
Next, pinch the tip of the center pull with the clothes pin and wrap the yarn around it.


Then pinch the yarn again in the clothes pin.

Lastly, put the pin, bottom end first, in the skein.

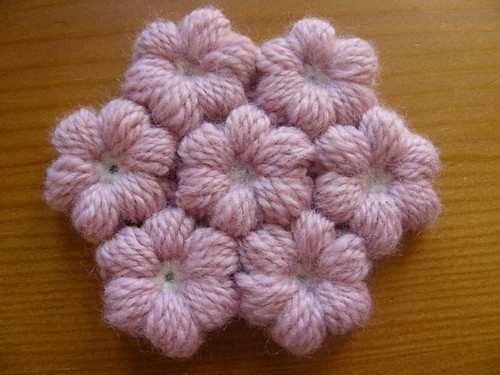
TADA.
Clean and still very easy to get to.
After:


I just looks better, no cat or kid teasing. (Don't mind all the other junk. This "craft room" is far from complete.)
